

How To Create Vendors
Step 1 > Go to “Settings” Under “Setting Tab”
Step 2 > Go to “Vendor Settings “Under Expenses.
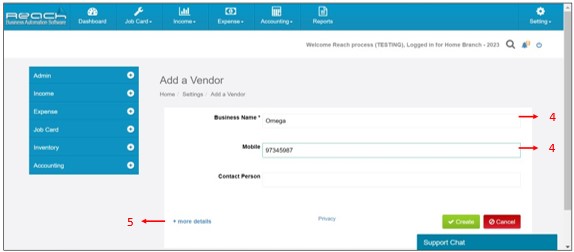
Step 3 > Now Click On “Add Vendor”.

Step 4 > Enter the Vendor Name & Mobile No.
Step > 5 Click on More Details
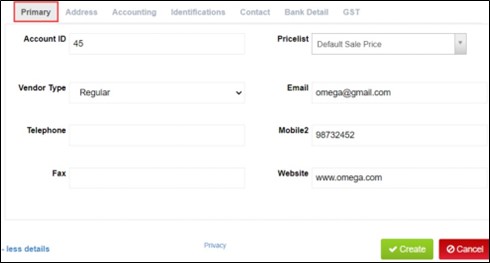
Fill in all the relevant details here like Primary, Address, Accounting, Identification, Contact, Bank Details & GST.
Under the Primary field the contact details of the vendor are available.If you use code to identify suppliers, enter the supplier’s code in the Account ID field. Enter other applicable contact info, including Email, Phone and Website.
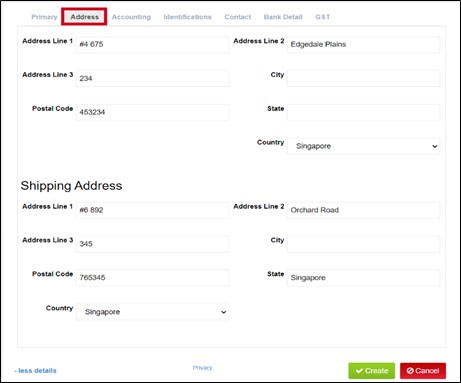
The Next field is the address of the customer. All the details are entered here.
For the Shipping address, select the option Same as billing address or enter different details.
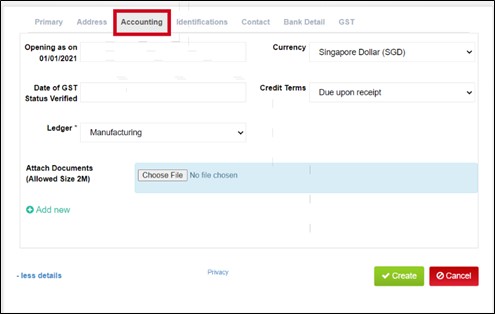
In the Accounting Field details regarding the accounts, credit period, terms of payment can be updated. This is an optional field you can use if you want to set custom payment terms for this vendor.
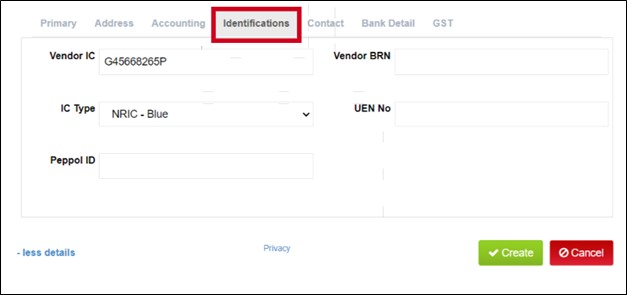
The Identifications like IC type and details of the vendor can be entered here.
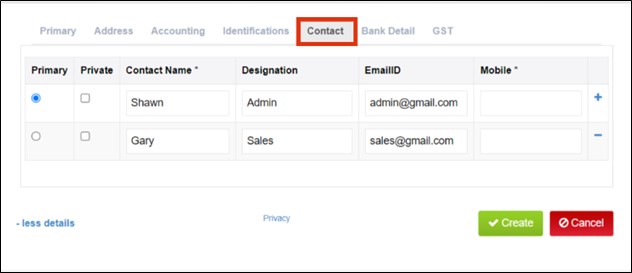
In this Contact field you can add the details of Vendors, like the contact person in a certain department say sales, Admin and so on. You have the option to save multiple people contact which would be very helpful.
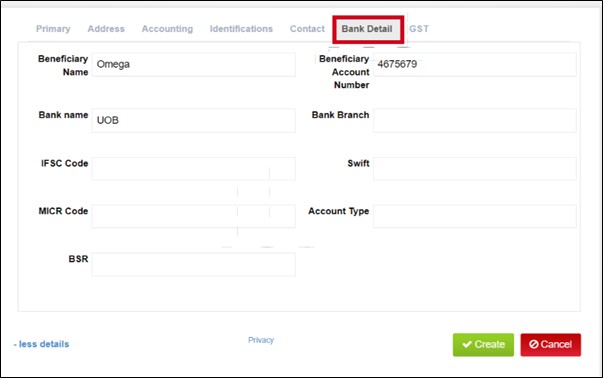
The Bank details of the vendor like, bank Name, branch, Account number can be entered in this field. So, it makes it easy to record while making payments for the vendor.
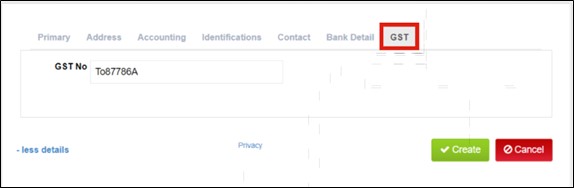
GST
In bills, the default tax code is based on the tax code assigned to the account. If your vendor’s business is registered for GST, you can enter the details here.